
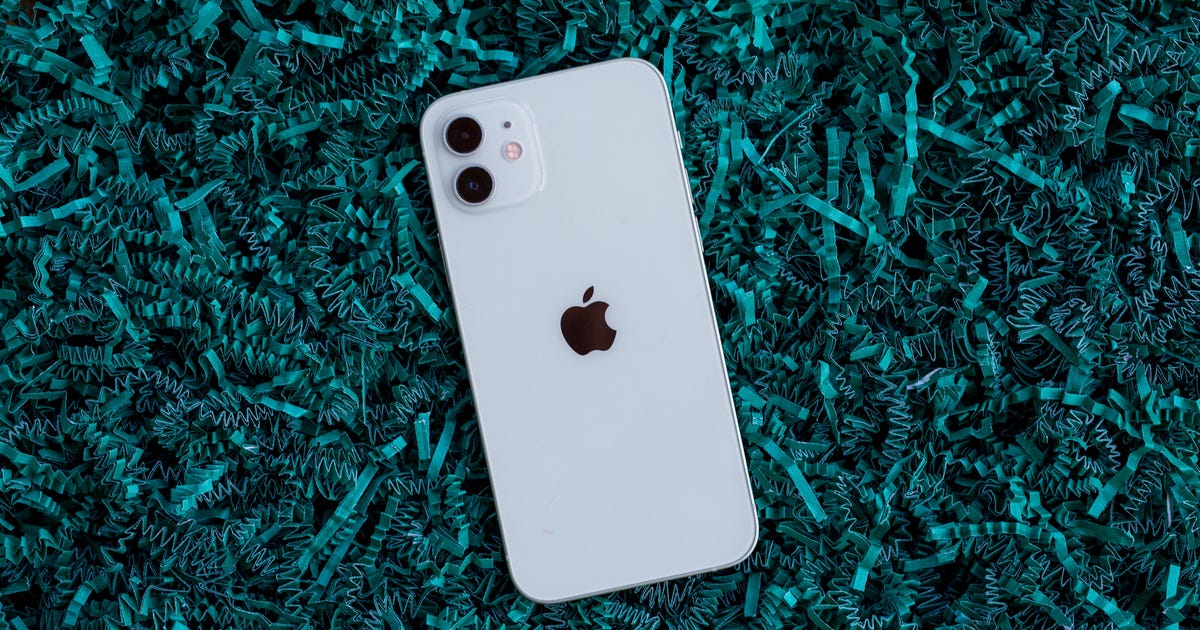
Angela Lang / CNET
the iPhone 12 is one of the highest rated phones of all time on CNET thanks to its strong overall performance and 5G connectivity. It is more “affordable” than the iPhone 12 Pro Max, lacking in camera spice, like the telephoto lens and lidar sensor. But its powerful photography software means this phone is still more than capable of taking absolutely stunning photos.
If you just got your hands on the iPhone 12 – maybe a new purple model? – here are my tips on how to capture great photos. You don’t have to go through them all, but keeping these ideas in mind will help you think more about your photography and turn otherwise forgettable shots into memorable works of art.

For this shot, I paid attention to the leaves in the foreground and how the alley leads the gaze into the scene, and positioned myself so that the castle in the background is framed by the hole in the trees.
Andrew Hoyle / CNET
Nail your composition
IPhone 12 can take vivid, well-exposed images with little intervention on your part. But so are most good phones and most standalone cameras. The most important factor that will differentiate your images from those of someone else is therefore the composition of the scene you are photographing. So take a moment to think about the layout of all the different elements in front of you and how they will look in your final image.
Let’s say you hiked the hills and found a nice view. You can just point your phone at it and snap a picture, and no doubt your family and friends will compliment you on the beautiful sight it was. But spend some time watching the scene and think about how it can become a real “wow” picture.
Adding an interest to the foreground (like an interesting rock formation, a flower patch, or a gnarled old tree stump) might help tie the scene together, and using guidelines (like a trail or a wall) can help draw the viewer’s eye further into your scene. The Photographic Rule of Thirds is worth keeping in mind to get you started, and to help you get started, you can enable a grid overlay in your camera settings to precisely align items. Keep in mind that despite the name, the Rule of Thirds is really just a guide, not a rule. Some of the more creative compositions will deliberately break it.

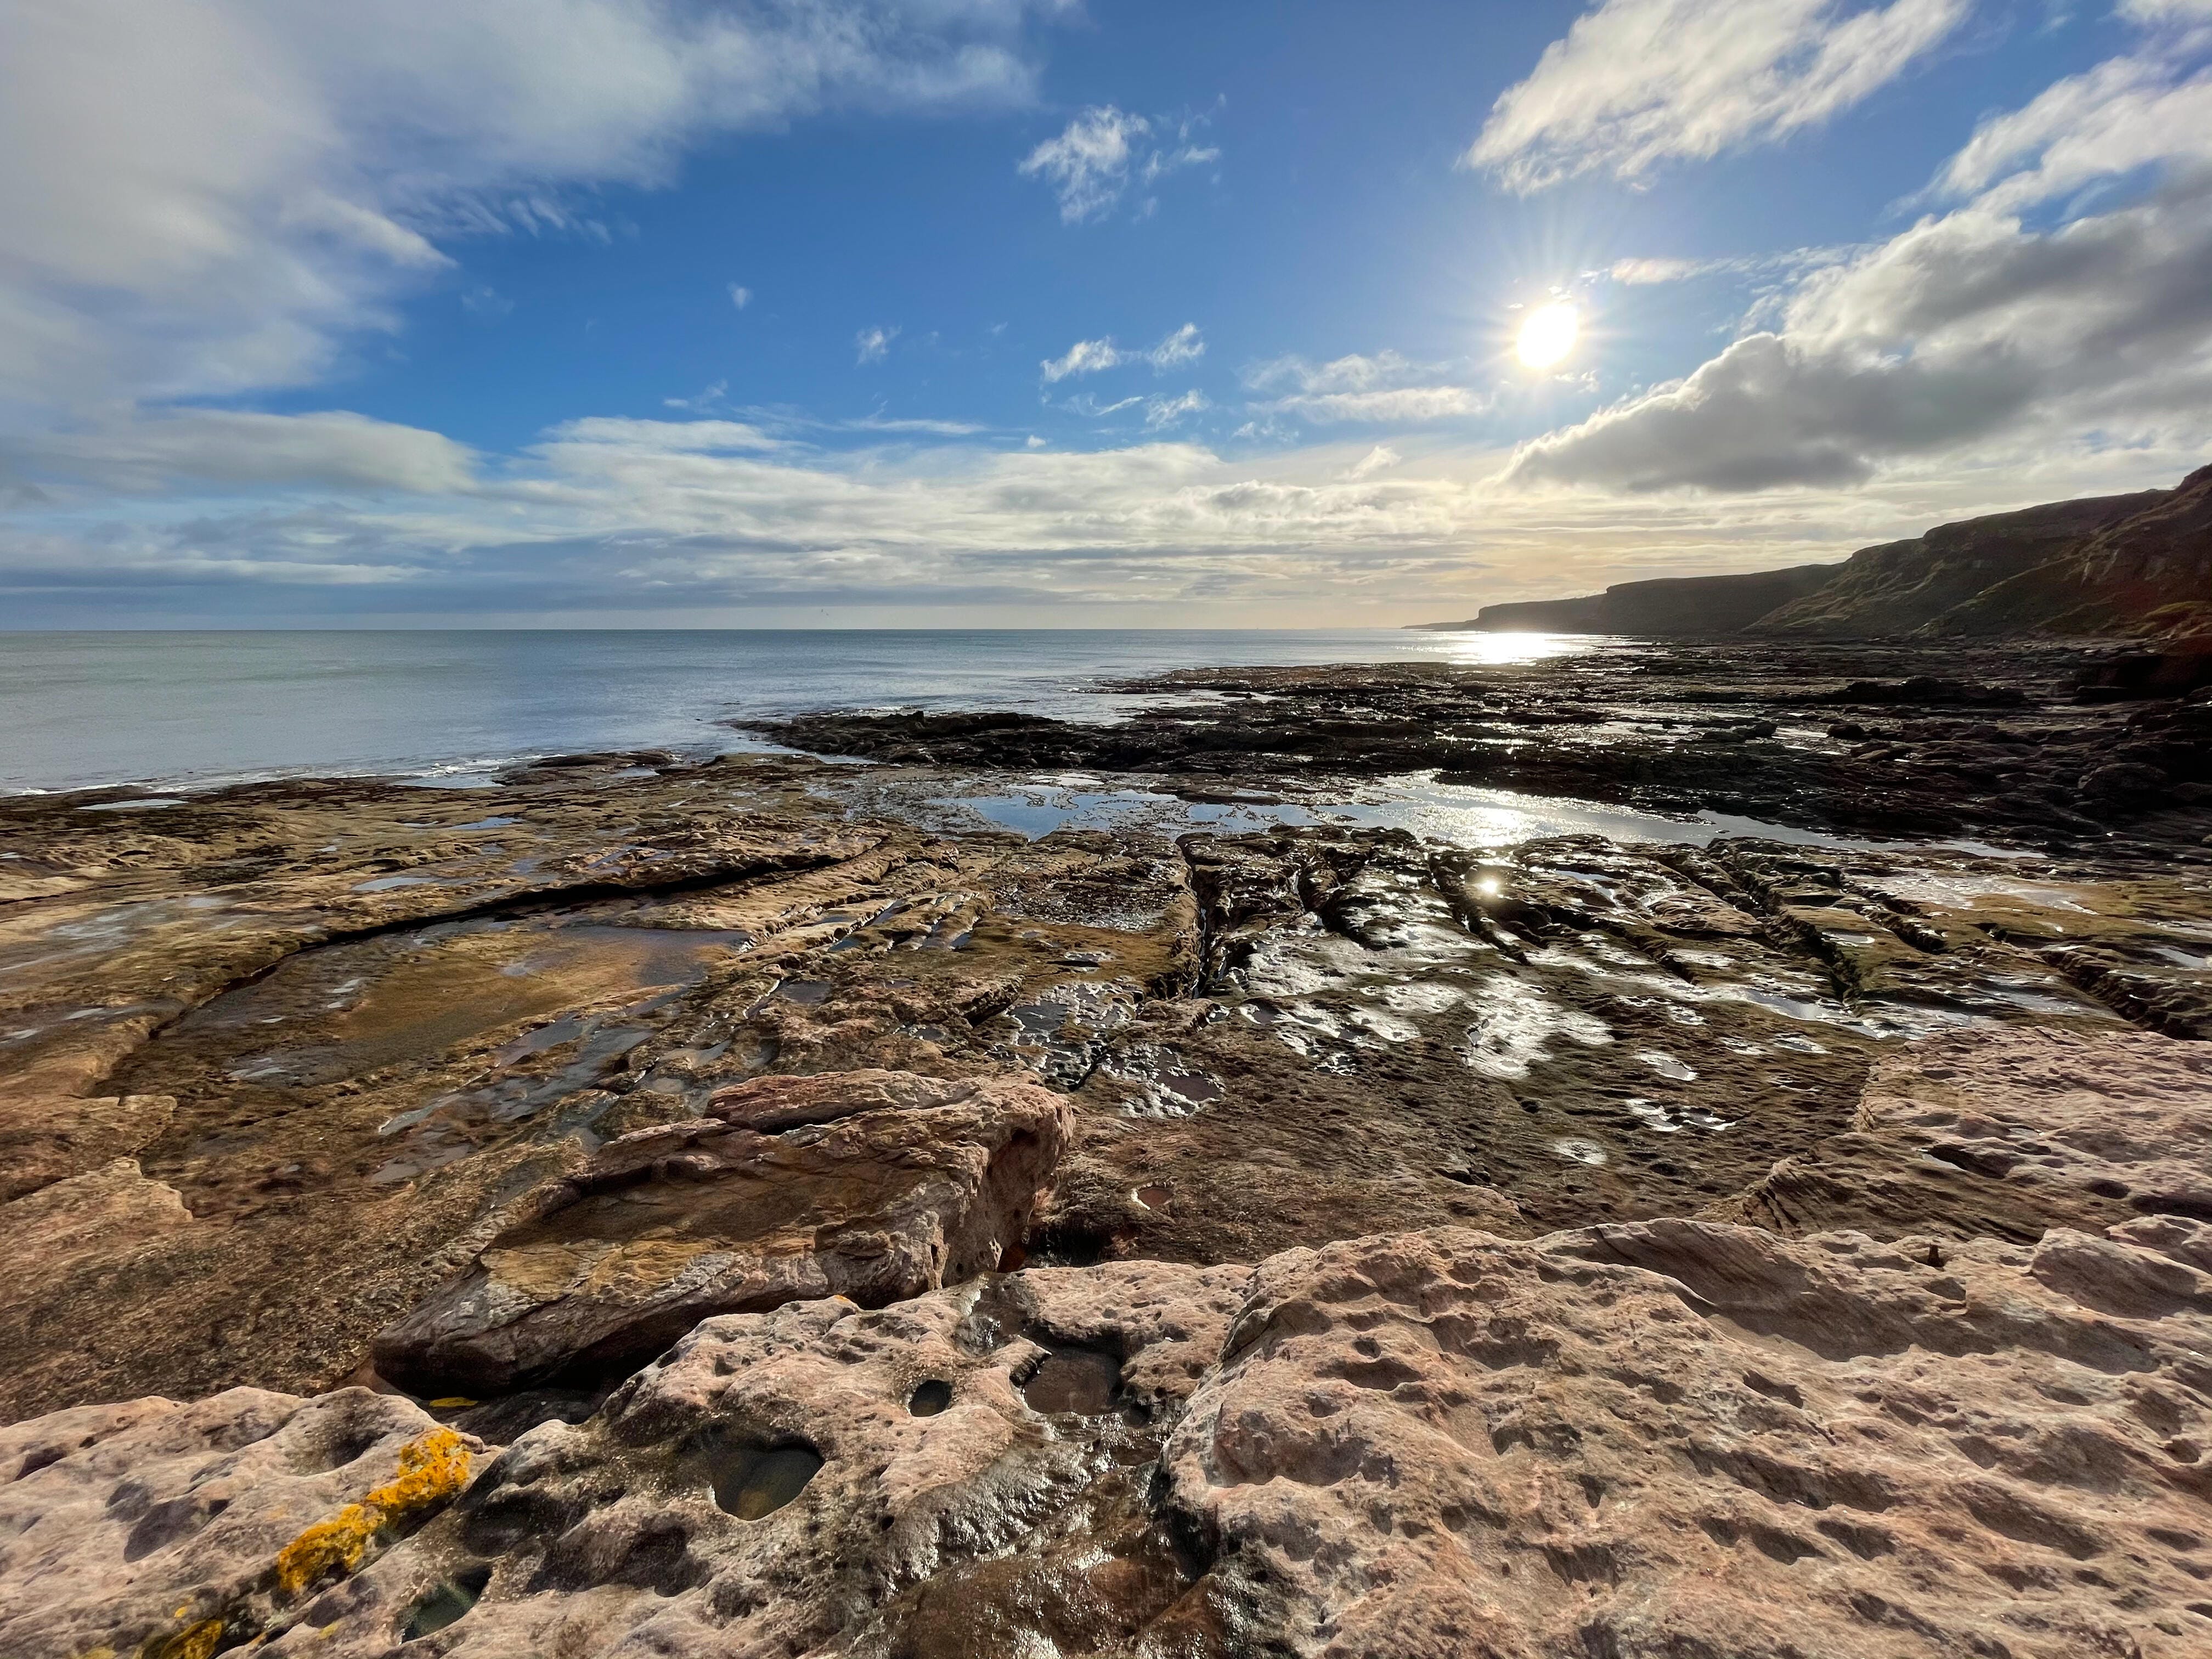
By switching to the super-wide lens, I was able to include these rocks as the top interest in this photo of the Forth Bridge in Scotland.
Andrew Hoyle / CNET
Know when to go wide
The iPhone 12 has a standard view and a super wide view built into its camera, so it’s important to remember to use these two angles and know when it’s best to use them. Switching to the super wide view can transform your image, but it’s only worth using when you have a strong composition that requires a super wide angle.
If the subject of your image – say, a church on a hill – is far away, a wide-angle lens will make the church appear even further away from you, and it will get lost in the frame. Instead, get close to the church and turn on the wide mode and you will find that the church is still the dominant subject in your image. But now you can capture more of its surroundings. Again, a strong foreground interest helps with wide angle shots, so look around; maybe there’s a nice patch of wildflowers that you can put in the foreground and the church can take up more of the middle.
Control your exposure
While the iPhone 12 is usually great for picking the right exposure for a scene, sometimes it needs a little help. Complex scenes with clear skies and dark shadows can sometimes confuse the camera. For example, when you take a portrait of a person against a bright sunset, it may choose a good exposure for the sky but leave your subject in shadow. There are a few things you can do in this case.
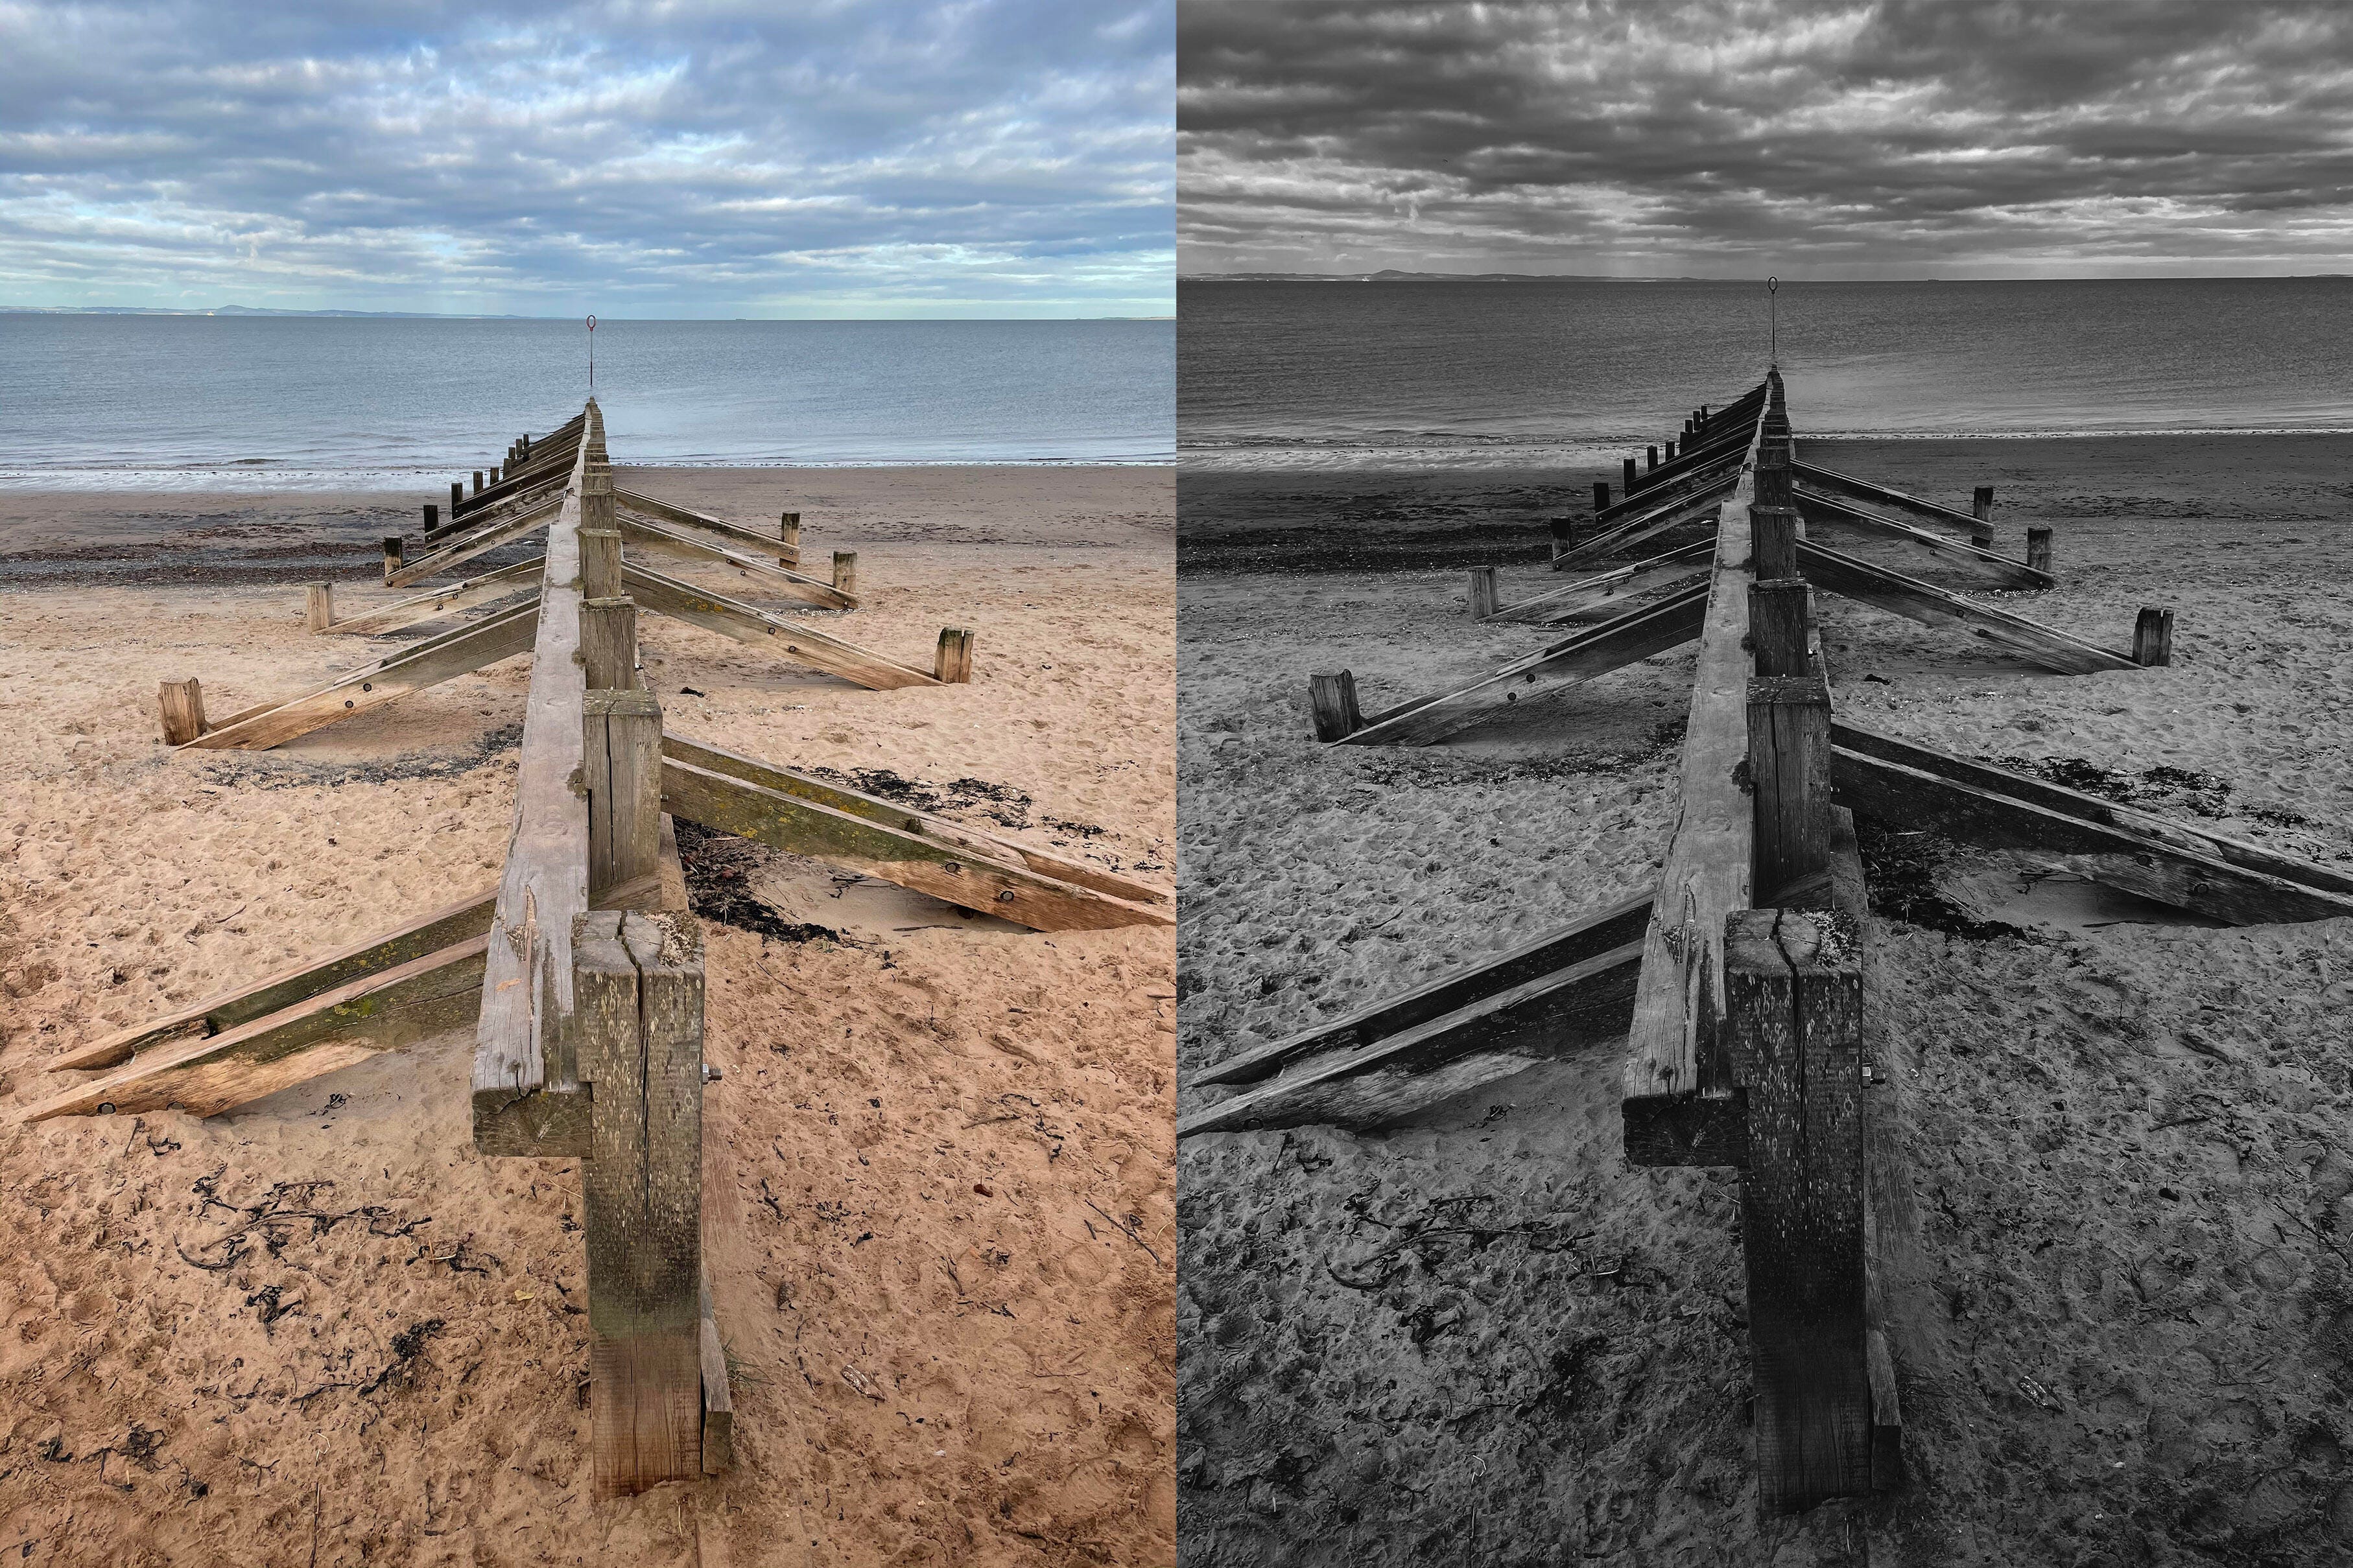
Shooting in bright sunlight will always be difficult for a camera, but by tapping on the sky and darkening the exposure with the slider, I was able to capture a rich scene.
Andrew Hoyle / CNET
You can try to touch your subject first, telling the camera that is the part that needs to be properly exposed. You can also drag the little slider that appears on the side of the box that appears when you tap it. This will allow you to brighten or darken the scene as you need. If the scene looks very bright, you’ll want to dim it with a simple touch.
Pull rough
If you want more control over your exposure, shoot in raw format and manually control your settings. To do this, you will need a third-party app, such as Moment or First lightbecause the default iOS camera app does not offer these features.
Manual control of settings like shutter speed, ISO, and white balance are useful in cases where the camera may be confused by a scene and you can’t get the shot you want. A deep sunset, for example, may seem too dark for the camera, so it will overcompensate and bring up the shadows too much, spoiling the atmospheric look you had in mind. By choosing the settings yourself, you can get exactly the photo you want.
Raw images also don’t permanently save image data for white balance and sharpness, giving you more control when it comes to editing images later. If I take a photo I know I’m going to want to edit for an “artier” look, I will almost always shoot rough.
With just a few minutes of editing in apps like Snapseed or Adobe Lightroom, you can turn your images from simple snapshots into works of art.
Andrew Hoyle / CNET
Edit your images
Good editing can often be the main factor in turning a ho-hum shot into a work of dramatic art. And the great thing about editing is that it doesn’t have to be complicated or boring. Even using the basic edit button in Apple’s Gallery app, you can apply cool filters, control highlights, or lift shadows, which only takes a few seconds and can give a boost to your pictures.
But if you want to take it a step further, there are tons of editing apps in the App Store that can transform your photos. My favorite is Adobe Lightroom, which offers the same suite of granular controls over exposure and color that I use in my professional photography. Snapseed is also great, with a lot of tools available, and it’s free. Both Lightroom and Snapseed are great for fine-tuning your images to achieve beautiful, fine art style looks without turning the images into something completely different.
Then there is apps like Prisma, PicsArt and Photoshop Camera, which lets you apply wild effects to your images, turning them into eerie modern works of art. You can consult my list of my best photo editing apps for iOS and Android.
Whether you prefer a more natural look or something more original and bolder, it is entirely up to your own preferences – not to mention your own imagination. Remember that there is no right or wrong way to edit images and you can always go back to the original and start over if you don’t like what you did, so there is no way. risk of experimenting. Ultimately my advice is to brew a nice cup of tea, settle into a comfortable chair, and play around with the tools in whatever app you want to find out what you can transform your footage into.